
Have you gotten into the 3D paper flower craze?
I have and I love them!
The problem is I haven't been able to find a lot of patterns so I decided to make my own!
I don't believe in reinventing the wheel but when I need something and can't find exactly what I am looking for, designing my own is always a good option.
So with that I have a big announcement today.
I have just opened up an Etsy Store with my own Designs
Look for Paper Closet Designs for some new digital cutting files.
All of my files come with SVG and DXF files so they can be used with Silhouette Basic, Silhouette Design Edition or Cricut Design Space. They can even be used with other Digital machines/software as well; and they also come with a PDF file for those who don't have a digital cutter and want to cut by hand.
I hope you will visit and tell your friends about it.
Right now I only have a few files available but I will continue to add to the store.
If you leave me a comment or an email, with some design ideas, I will also add those as we go along.
OK
so back to the Tissue Paper Carnations.
Let me give you some step by step instructions on how I put this together.

For Supplies you will need the following
Tissue paper in any color, 18 Gage wire, Low melt glue gun and glue, green cardstock for the leaves and another color cardstock for the flower template.
You will also need wire cutters, floral tape and scissors.

1. Purchase, download and unzip the file
2. Open the file with in your cutting software and cut the pieces.
a. the flower circle piece is just a template and you only need one piece
b. the leaves and Sepal will be cut from green cardstock.

3. Fold and Layer the Tissue paper into 4" squares. You will need 12-15 layers depending on how full you want your flower. (for a carnation bud, cut 3-5 layers)
4.Place the template you cut from cardstock on the tissue paper layer and cut out.
5. with a sharp tool, poke a hole through all the layers of tissue paper, using the template as a guide

6. With scissors, cut the "fringe" on the tissue paper. cut about 1/2" deep every 1/4" along the outside of the circle.

7. Bend the top of the wire into a little hook, using the wire clippers.
8. Slide the wire into the center of the tissue paper layers
9. Place a drop of glue from the glue gun onto the hook.

10. Scrunch up the first layer of tissue paper up around the wire hook and the drop of glue


11. working with one layer at a time, add glue and then scrunch up the tissue paper around the wire/ tissue paper.
*it isn't going to look very impressive for the first few layers but just keep doing it, one layer at a time.

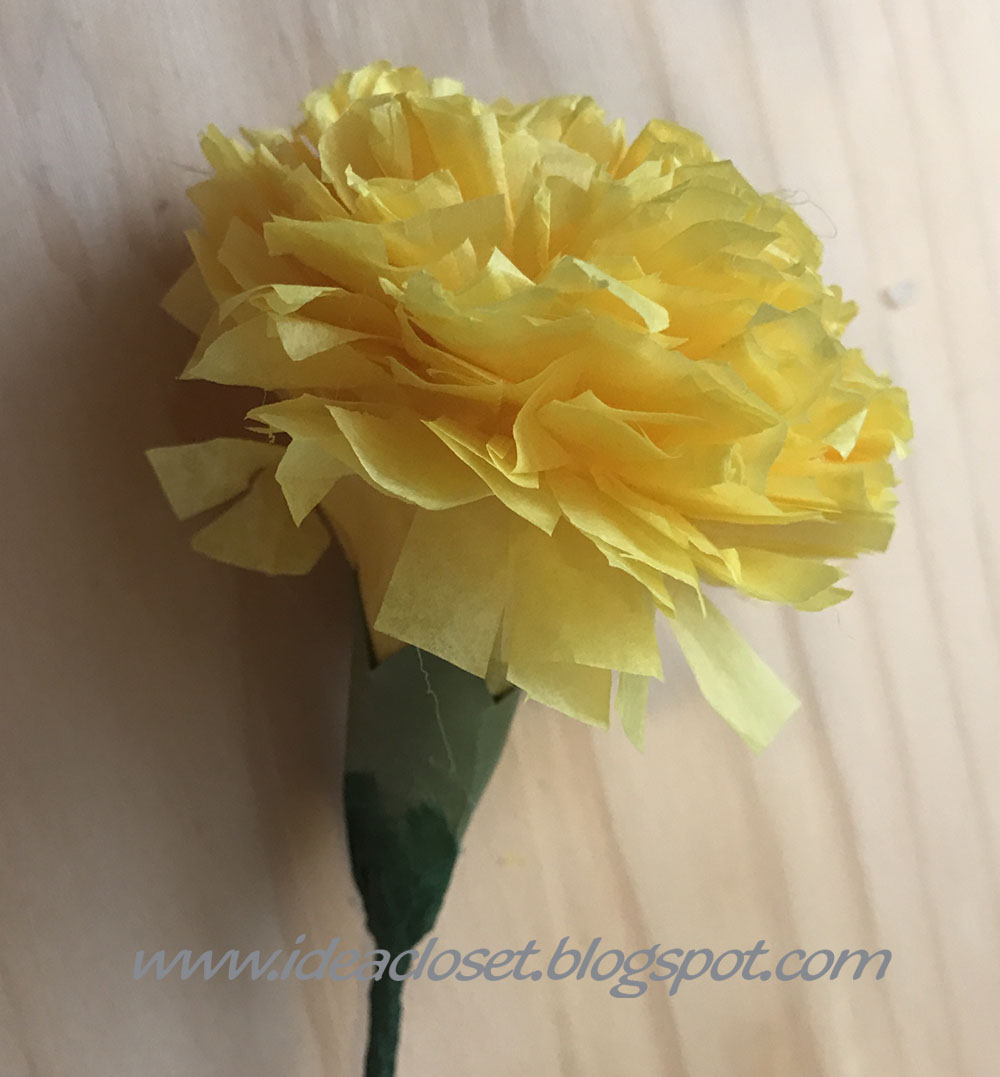
12. Once you have all the layers glued together, turn the carnation over and fluff it up a bit.
Trim up any pieces that have torn.

13. Take the sepal piece and bend it around a round object (pen, dowel, etc.) to create a little curve.
*there are three different sizes of sepals, depending on how big your flower ends up being.

14. Roll the Sepal into a tube, slightly overlapping on the top and more on the bottom and glue in place.

15. With your round tool, bend the ends of the sepal out just a little

15. place a big glob of glue on the bottom of the carnation and then slide the sepal onto the wire and up as far as you can on the flower.
*don't burn yourself. Even Low melt can burn- I promise!
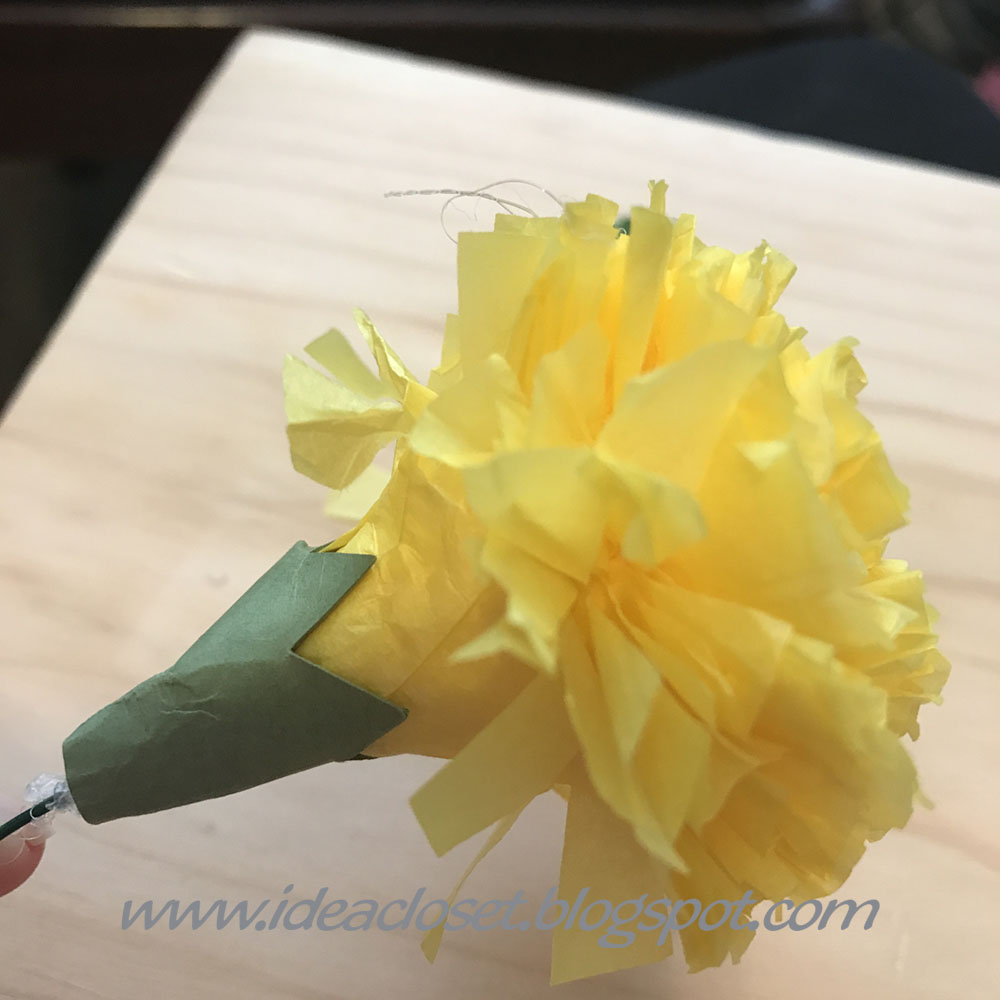
16. Fold the bottom of the Sepal around the wire and glue into place.

17. Add Floral tape to the bottom of the sepal and down the wire.

If you wish to add leaves, there is a single leaf or a double leaf. Use one or the other or both.
18. Score down the middle of the leaf and bend

19. Glue the leaf to the wire with the low melt glue.
20. Let dry then wrap more of the Floral tape around the end of the leaf and the wire.
That's all there is to it.
If your first carnation doesn't turn out perfect it is ok. Just keep trying. Tissue paper is cheap and it will only take you one or two tries before you will be creating flowers like a professional.
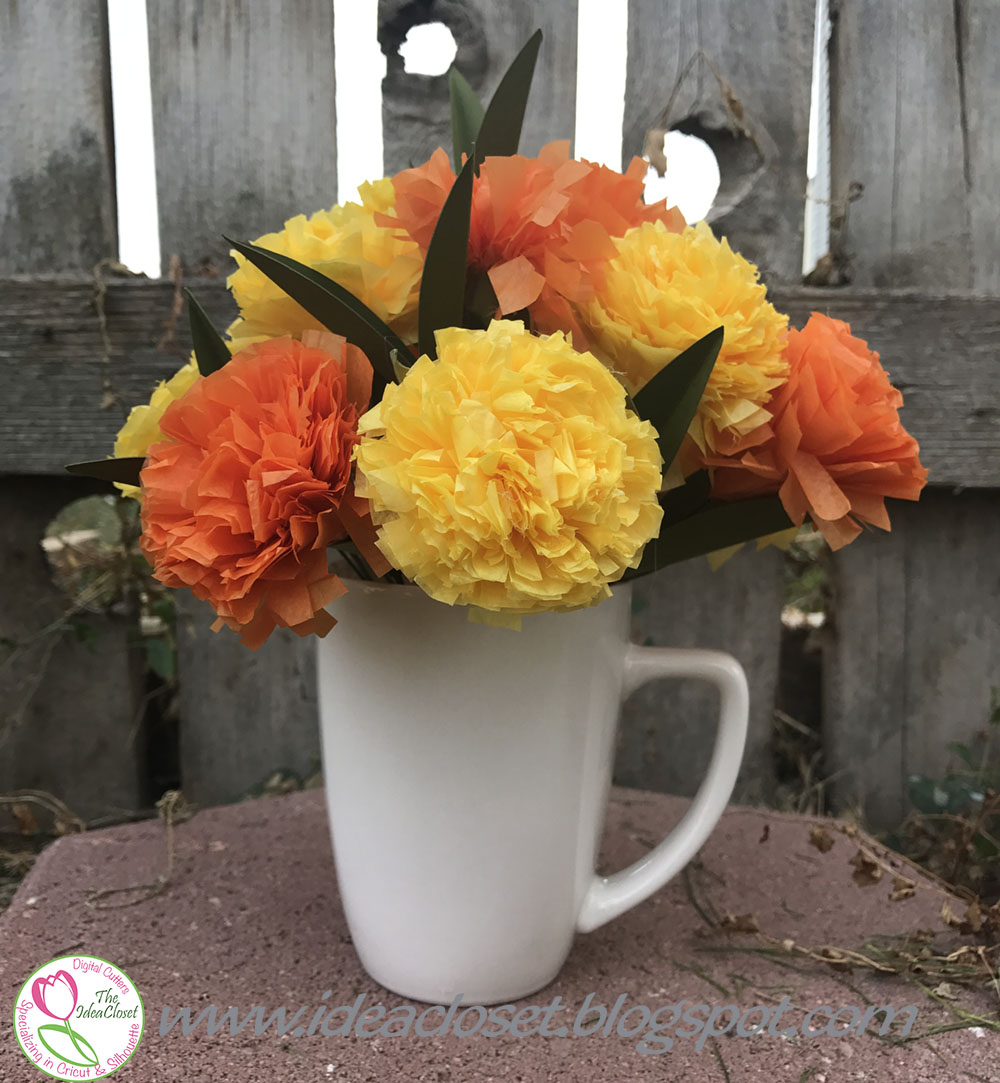
Use your carnations in any arrangement you want.

You will be inspired by all the Ohs and Aws you receive!
I hope you enjoy this file/project and will come back for more!


No comments:
Post a Comment